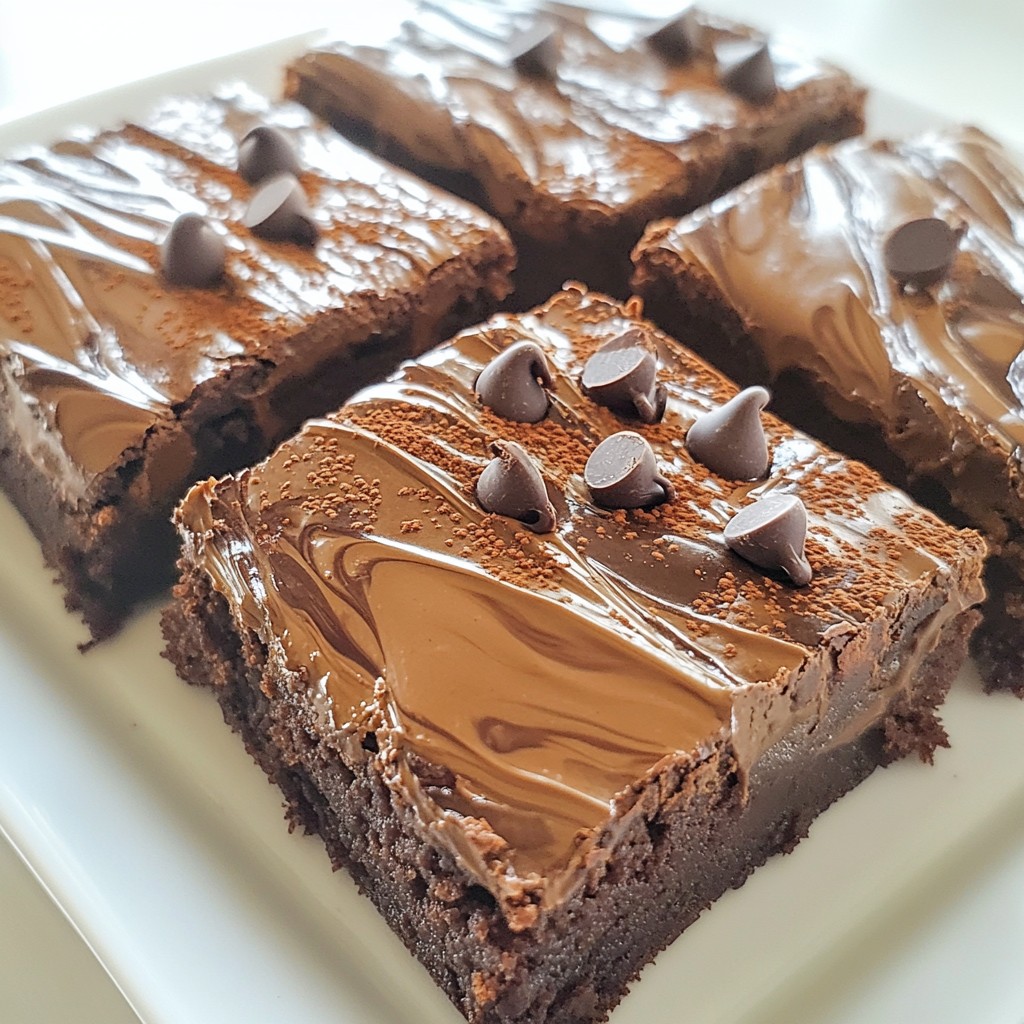
Are you ready to indulge in a dessert that oozes rich flavor? Chocolate Caramel Lava Cakes are the ultimate treat, blending smooth chocolate with gooey caramel. With simple ingredients and easy steps, you’ll impress family and friends. Whether you’re hosting a dinner party or enjoying a cozy night in, this dessert is irresistible. Let’s dive into how to make these gooey delights that will leave everyone asking for more!
Why I Love This Recipe
- Decadent Flavor: The rich combination of dark chocolate and gooey caramel creates a luxurious dessert experience that is hard to resist.
- Quick and Easy: This recipe takes just 30 minutes from start to finish, making it perfect for last-minute entertaining or a sweet treat.
- Impressive Presentation: With its molten center and dusting of powdered sugar, this dessert looks stunning on any table, sure to impress your guests.
- Customizable: You can easily adjust the filling or toppings with different sauces and fruits, allowing you to personalize each serving.
Ingredients
List of Ingredients
– 1/2 cup unsalted butter (plus extra for greasing)
– 1 cup high-quality dark chocolate chips (preferably 60-70% cocoa)
– 2 large eggs
– 2 large egg yolks
– 1/4 cup granulated sugar
– 1/4 teaspoon fine salt
– 2 tablespoons all-purpose flour
– 1/4 cup soft caramel sauce (store-bought or homemade)
– Powdered sugar (for dusting)
– Fresh berries (such as raspberries or strawberries, for garnish)
Quality Tips for Ingredients
Using the best ingredients makes a big difference. Choose high-quality chocolate chips with 60-70% cocoa. This gives the cakes a rich, deep flavor. Always use unsalted butter for better control of salt levels. Fresh eggs provide the best texture and lift. When it comes to caramel, homemade is great, but store-bought works too.
Common Substitutions
If you need to swap ingredients, you have options. For the dark chocolate, you can use semi-sweet chocolate. If you want a different flavor, try adding a splash of vanilla extract. For a gluten-free version, replace all-purpose flour with a gluten-free blend. If you can’t find caramel sauce, try using a thick chocolate sauce instead. Each change can create a new twist on this dessert!

Step-by-Step Instructions
Preheating the Oven
Set your oven to preheat at 425°F (220°C). This step is crucial for the perfect bake. While the oven heats, grab four ramekins. Generously grease the insides with butter. This helps the cakes release easily later. Place the greased ramekins on a baking sheet. This makes them easier to handle.
Melting Chocolate and Butter
Take a microwave-safe bowl. Combine 1/2 cup of unsalted butter and 1 cup of dark chocolate chips. Heat this mixture in the microwave in 30-second bursts. Stir after each burst until the mixture is smooth. Be careful not to overheat the chocolate. A silky texture makes all the difference.
Preparing the Egg Mixture
In another mixing bowl, crack 2 large eggs and add 2 egg yolks. Pour in 1/4 cup of granulated sugar and 1/4 teaspoon of fine salt. Whisk these together until they are uniform and slightly frothy. This should take about 2 to 3 minutes. A good whisk creates air, making your cakes light.
Combining Ingredients
Pour the melted chocolate and butter mix into the egg mixture. Use a spatula to fold them together gently. Keep mixing until there are no streaks left. This step is key for a smooth batter.
Baking Instructions
Sift 2 tablespoons of all-purpose flour into the chocolate mix. Fold gently until just combined. Be careful not to overmix, or the texture may suffer. Now, divide half of the batter into the prepared ramekins. Fill each about halfway. Add 1 tablespoon of caramel sauce to the center of each. Then, cover with the remaining batter.
Place the baking sheet with ramekins in the oven. Bake for 12 to 14 minutes. The edges should be firm, but the centers must wobble slightly. Do not overbake; the molten center is what makes it special.
Cooling and Unmolding
After baking, take the baking sheet out of the oven. Let the lava cakes cool for 1 to 2 minutes. Use a knife to run around the edges of each ramekin. This helps loosen the cakes. Invert each ramekin onto a dessert plate. Gently lift it off to release the cakes. They should come out smoothly, revealing their molten centers.
Tips & Tricks
Perfecting the Molten Center
To get that perfect molten center, follow these steps. First, bake the lava cakes for 12 to 14 minutes. The edges should be firm, but the center should still jiggle slightly. If you bake them too long, the center will cook. You want a gooey surprise when you cut into the cake.
Also, make sure to add the caramel sauce right in the middle. This keeps it safe and ensures it melts perfectly during baking. If you want an extra touch, you can use chocolate ganache instead of caramel. It gives a rich twist to the flavor.
Common Mistakes to Avoid
Here are some common pitfalls when making chocolate caramel lava cakes:
– Overmixing the Batter: This can lead to a dense cake. Mix just until you see no flour streaks.
– Skipping the Greasing Step: Always grease your ramekins well. This helps the cakes come out easily after baking.
– Not Monitoring Oven Temperature: Ovens can vary. Use an oven thermometer to check if yours is accurate.
These small details can change how your lava cakes turn out.
Presentation Tips for Serving
Presentation makes your dessert shine. Here are some ideas:
– Dust with Powdered Sugar: This adds a lovely snow-like effect.
– Fresh Berries: Place raspberries or strawberries around the cake for color.
– Mint Leaves: A single mint leaf adds a pop of green.
For a rustic look, serve the cakes on a wooden board. A little creativity goes a long way in impressing your guests. Enjoy your delicious creation!
Pro Tips
- Use Quality Chocolate: The flavor of your lava cakes largely depends on the chocolate you choose. Opt for high-quality dark chocolate with a cocoa content of 60-70% for a rich and decadent taste.
- Don’t Overmix: When combining the mixtures, be careful not to overmix as this can result in a tough texture. Gently fold until just combined for the best results.
- Timing is Key: Baking times can vary by oven. Start checking your lava cakes at the 12-minute mark to ensure you achieve the perfect molten center.
- Cool Slightly: Allow the lava cakes to cool for 1-2 minutes before unmolding. This helps them set slightly, making it easier to release them from the ramekins without breaking.
Variations
Adding Flavor Enhancements
You can easily add fun flavors to your lava cakes. One great idea is to mix in some orange zest. This adds a bright, citrus note that pairs well with chocolate. Another option is espresso. Just a little espresso powder can deepen the chocolate flavor. You can also try a pinch of sea salt on top before serving. This will enhance the sweetness of the caramel. These simple changes make your dessert even more exciting.
Dietary Adjustments
If you need gluten-free options, you can swap the all-purpose flour for almond flour or gluten-free flour. Both will work well and keep the cakes moist. Just ensure your chocolate chips are gluten-free too. This way, everyone can enjoy the rich taste of chocolate caramel lava cakes without worry.
Serving Suggestions
When it comes to serving, I love to pair these lava cakes with a scoop of vanilla ice cream. The warm cake and cold ice cream create a perfect contrast. You can also add fresh berries, like raspberries or strawberries. Their tartness balances the sweetness of the cake. For an extra touch, drizzle some chocolate or caramel sauce over the top. These ideas will make your dessert truly memorable.
Storage Info
How to Store Leftover Lava Cakes
To store leftover lava cakes, first let them cool. Place them in an airtight container. Keep them in the fridge for up to three days. If you want to keep them longer, consider freezing.
Reheating Instructions
To reheat your lava cakes, preheat your oven to 350°F (175°C). Place the cakes on a baking sheet. Cover them with foil to keep moisture in. Heat for about 10 minutes. The center should become warm and gooey again.
Freezing Tips
If you want to freeze lava cakes, wrap each one tightly in plastic wrap. Then, place them in a freezer-safe bag. They can last up to two months in the freezer. When you are ready to enjoy them, let them thaw in the fridge overnight before reheating.
FAQs
What should I do if my lava cakes don’t rise?
If your lava cakes don’t rise, check the oven temperature. It should be set to 425°F (220°C). If the oven is too cool, the cakes may not puff up. Also, make sure to whisk the eggs well. This helps incorporate air into the batter, which is crucial for rising. Lastly, avoid overmixing the batter. Overmixing can deflate the air you added.
Can I use milk chocolate instead of dark chocolate?
Yes, you can use milk chocolate, but it will change the taste. Milk chocolate is sweeter and creamier than dark chocolate. If you decide to use it, consider reducing the sugar a bit. This will help balance the sweetness in your lava cakes.
How do I know when the lava cakes are done baking?
To check, look for firm edges and a slightly wobbly center. Bake for 12-14 minutes. If you see cracks on top but the center moves a little, they are ready. Overbaking will make the cakes less gooey, so keep an eye on the time.
What are the best berries to serve with lava cakes?
Fresh raspberries and strawberries are great choices. They add a nice tart flavor that pairs well with the rich chocolate. Blueberries can also work if you prefer their taste. Feel free to mix and match for a colorful garnish.
How long can I keep the lava cakes in the fridge?
You can keep the lava cakes in the fridge for up to two days. Store them in an airtight container to keep them moist. When ready to serve, reheat them gently in the oven or microwave. This will help restore their gooey center.
In this post, we explored how to make lava cakes. We covered the ingredients you’ll need, tips for quality, and substitutions. The step-by-step instructions guide you from preheating the oven to cooling your cakes. I shared tips for perfecting the molten center and ways to present your dessert. We also discussed variations, storage, and answered common questions.
Now, you can create a delicious treat with confidence. Enjoy your baking journe