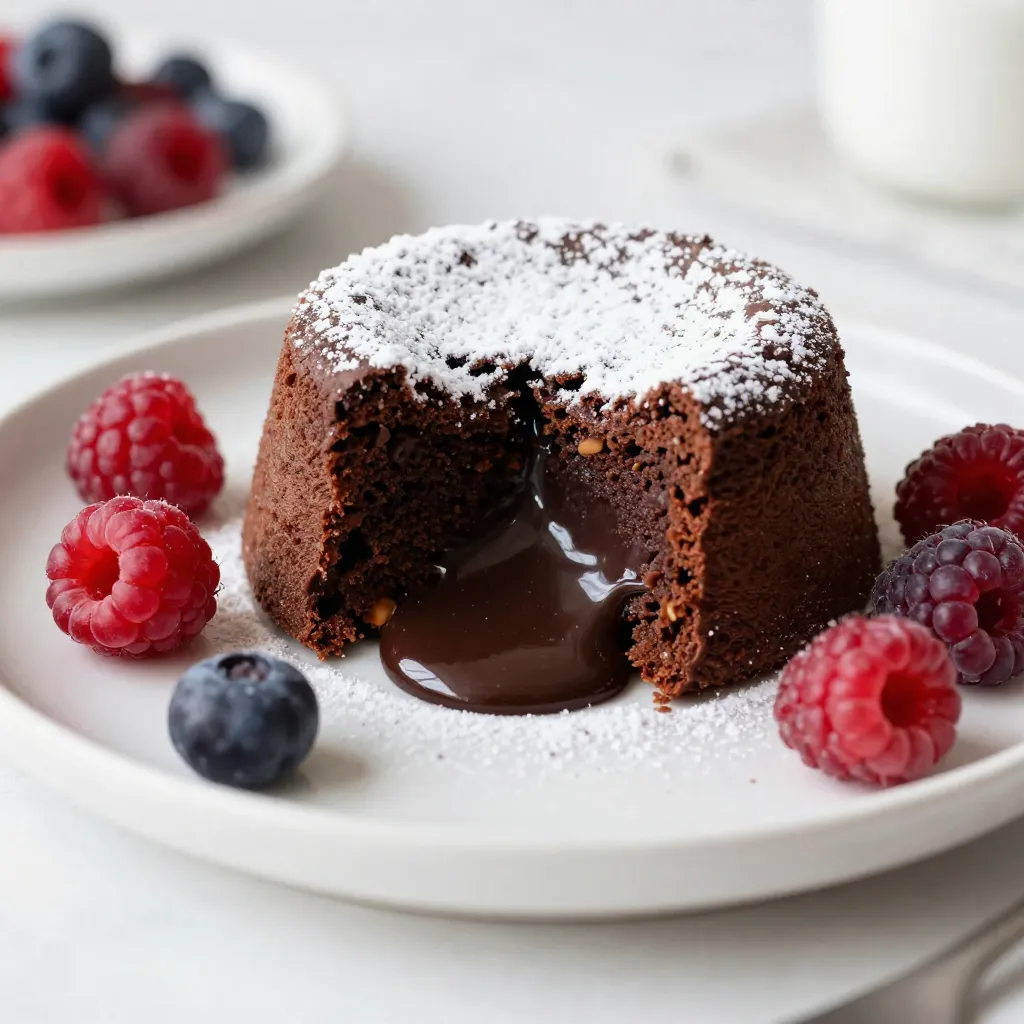
If you crave a dessert that combines rich chocolate and nutty hazelnuts, you’re in the right place. This Chocolate Hazelnut Lava Cake offers a delightful molten center that will impress anyone. With just a handful of ingredients and simple steps, you can create this indulgent treat at home. Get ready to learn how to make each bite a sweet surprise, perfect for any occasion!
Why I Love This Recipe
- Rich Flavor: This decadent chocolate hazelnut lava cake is the epitome of indulgence, offering a deep, rich flavor that chocolate lovers will adore.
- Melt-in-Your-Mouth Texture: The gooey center creates a delightful contrast with the cake’s outer layer, making every bite a luscious experience.
- Quick and Easy: With just 15 minutes of prep time, you can whip up this elegant dessert, perfect for impressing guests or treating yourself.
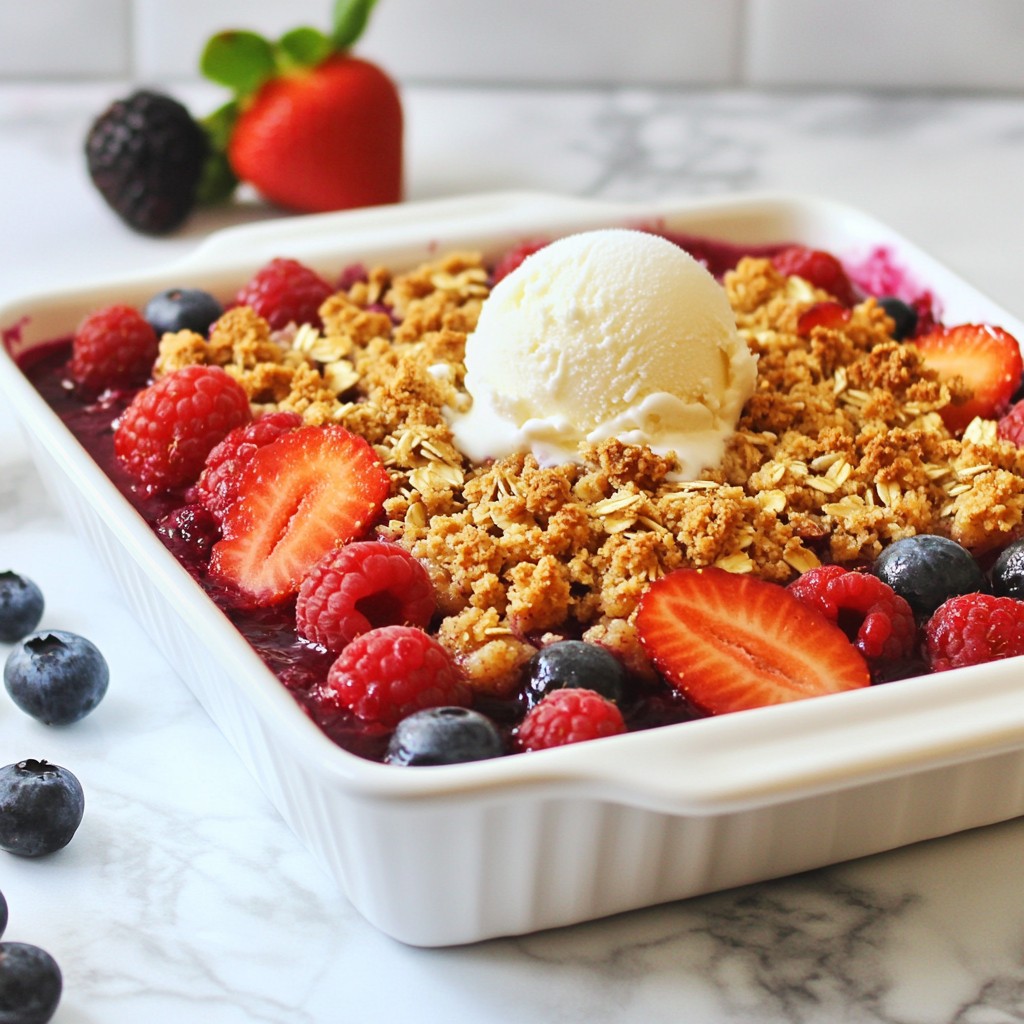
- Versatile Presentation: Dress it up with powdered sugar and berries, or serve it with ice cream for an unforgettable dessert that suits any occasion.
Ingredients
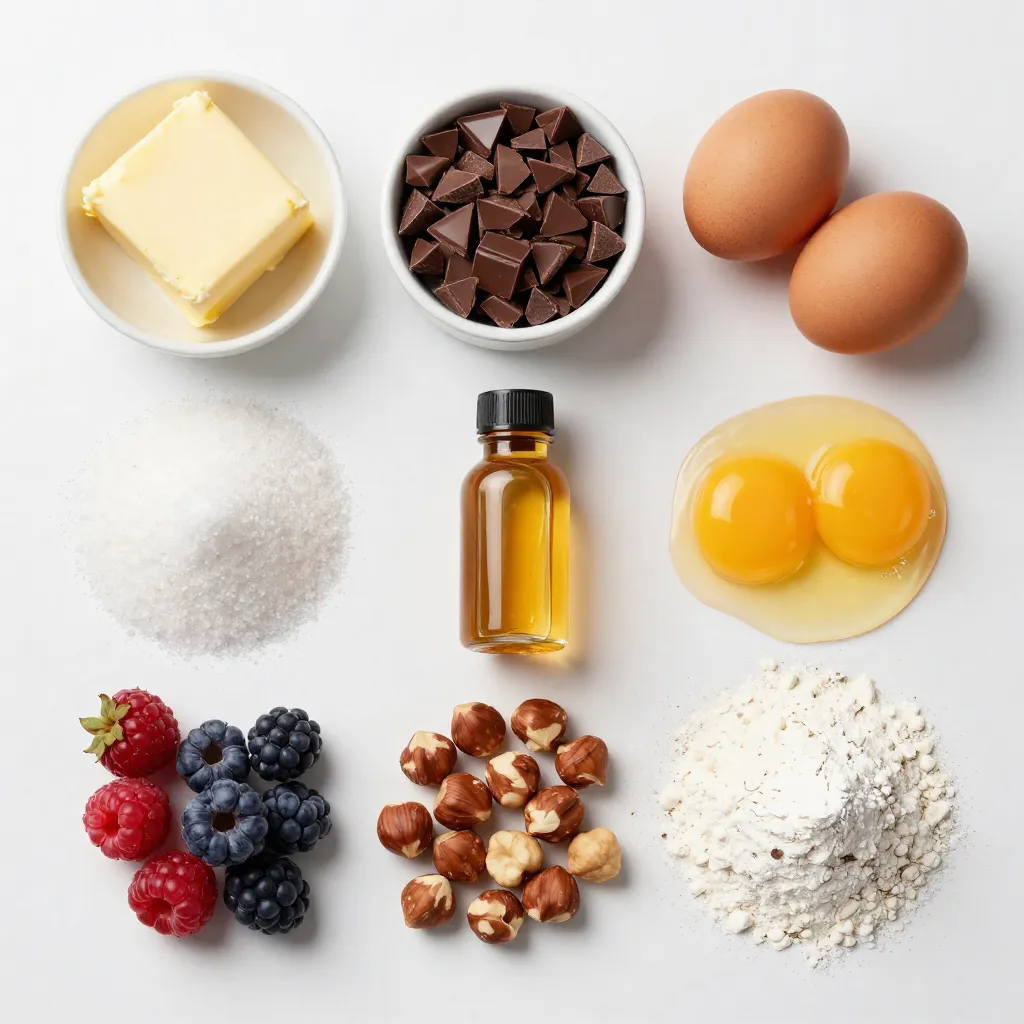
Detailed Ingredient List
– 1/2 cup unsalted butter
– 1 cup dark chocolate chips (70% cocoa or higher)
– 1/2 cup granulated sugar
– 2 large eggs
– 2 large egg yolks
– 1/4 teaspoon pure vanilla extract
– 1/4 cup all-purpose flour (sifted)
– 1/4 cup finely chopped hazelnuts (toasted)
– Pinch of salt
– Optional garnishes: powdered sugar, fresh berries
I love using fresh, high-quality ingredients for this chocolate hazelnut lava cake. The unsalted butter gives a rich base, while dark chocolate chips bring depth. I prefer chips that are at least 70% cocoa for a strong flavor. Granulated sugar balances the chocolate’s bitterness.
Eggs and egg yolks add richness and help the cake rise. Vanilla extract enhances the sweet notes of the cake. Sifting the flour ensures a light texture. Finely chopped, toasted hazelnuts provide a nutty crunch.
I often add optional garnishes like powdered sugar and fresh berries. They not only look great but also add a pop of flavor. This cake is a treat for all your senses, making it a favorite for special occasions or a cozy night in.
Step-by-Step Instructions
Preheat the Oven and Prepare Ramekins
– Set your oven to 425°F (220°C).
– Grease four 6-ounce ramekins with unsalted butter. Dust them with flour to stop sticking. Tap out any extra flour.
Melting the Chocolate and Butter
– In a microwave-safe bowl, mix the unsalted butter and dark chocolate chips.
– Microwave in 30-second bursts. Stir well after each burst. Keep going until the mix is smooth. Let it cool a bit.
Whisking the Eggs and Sugar
– In a bowl, whisk together granulated sugar, eggs, egg yolks, and vanilla extract.
– Keep whisking until the mix is light and fluffy. This should take about 3 to 5 minutes.
Combining Mixtures
– Pour the warm melted chocolate into the egg mixture. Use a spatula to stir gently.
– Make sure both mixes are well combined. Don’t overmix or you will lose some airiness.
Preparing for Baking
– Evenly fill the ramekins with the batter. Fill them about three-quarters full.
– Place the ramekins on a baking sheet. This makes them easy to handle.
Baking and Cooling
– Bake for 12 to 14 minutes. The edges should be firm, but the center should jiggle a bit.
– Once done, let the ramekins cool for just 1 minute. Use a knife to run around the edges. Turn them upside down onto plates to release the cakes.
Tips & Tricks
Achieving the Perfect Molten Center
To get that perfect molten center, watch for the edges. They should be firm, but the middle must jiggle slightly. If the center is too set, your cake will not flow. A common mistake is baking too long. Set a timer and check at 12 minutes. The cake should look firm but soft in the center.
Enhancing Flavor
Using high-quality chocolate makes a big difference. I recommend dark chocolate chips with at least 70% cocoa. This gives a deep, rich taste. Toasting hazelnuts adds more flavor. Simply spread them on a baking sheet and toast at 350°F (175°C) for about 5-7 minutes. This brings out their natural oils and enhances their taste.
Presentation Suggestions
Garnishing your lava cake can make it look elegant. A dusting of powdered sugar adds a nice touch. You can also add fresh berries for color and freshness. Serve with whipped cream or a scoop of vanilla ice cream. This adds creamy texture and balances the warm, rich cake.
Pro Tips
- Choose the Right Chocolate: Opt for high-quality dark chocolate (70% cocoa or higher) for a rich flavor and a silky texture in your lava cake.
- Don’t Overbake: Keep a close eye on the baking time; the cakes should have a slight jiggle in the center when you take them out for that perfect molten core.
- Prep Ahead: You can prepare the batter in advance and refrigerate it in the ramekins. Just add a couple of extra minutes to the baking time if they go in cold.
- Experiment with Flavors: For a unique twist, try adding a splash of espresso or orange zest to the batter for an extra layer of flavor.
Variations
Flavor Infusions
You can add espresso or coffee to the batter. This gives the cake a deeper, richer flavor. Just a teaspoon or two is enough to make a big difference. You can also try adding liqueurs like Frangelico or Amaretto. These liqueurs add a nice nutty or sweet note that pairs well with chocolate and hazelnuts.
Dietary Adjustments
If you need a gluten-free version, use almond flour instead of all-purpose flour. This change keeps the cake moist and adds a lovely nutty taste. For a vegan option, replace the eggs with flax eggs or applesauce. Use vegan chocolate chips and butter alternatives. Your lava cake will still be rich and delicious!
Serving Style Variations
You can bake the cakes in individual ramekins for a nice presentation. This makes each cake easy to serve. Or, you can bake them in one big dish for sharing. I love to serve these cakes with a scoop of ice cream or a dollop of whipped cream. The cold cream contrasts so well with the warm chocolate center. Fresh berries also add a burst of color and flavor.
Storage Information
Storing Leftovers
To keep your lava cakes fresh, store them in an airtight container. Place them in the fridge for up to three days. This way, they maintain their rich flavor and texture. If you want to keep them longer, consider freezing.
Reheating Tips
When it’s time to enjoy leftovers, you want to keep that molten center. The best way is to use the oven. Preheat it to 350°F (175°C). Place the cakes on a baking sheet and heat for about 10 minutes. This method warms them gently. You can also use a microwave, but be careful. Heat in short bursts of 10 seconds to avoid cooking the center.
Freezing Options
You can freeze both unbaked and baked lava cakes. For unbaked cakes, prepare them in the ramekins, cover tightly, and freeze. They can stay in the freezer for up to two months. To bake, just add a few extra minutes to the baking time. For baked cakes, let them cool completely first. Wrap them well and freeze. Thaw in the fridge overnight before reheating. This keeps them delicious and ready to serve!
FAQs
What is the difference between lava cake and regular cake?
Lava cake has a gooey center. Regular cake is fully baked and firm all the way through. This unique texture makes lava cake exciting and fun to eat. When you cut into it, warm chocolate flows out like a delicious river. Regular cake doesn’t have this feature.
Can I make the batter ahead of time?
Yes, you can make the batter ahead. Just mix it and store it in the fridge. Keep it covered to avoid drying out. When you’re ready to bake, let it sit at room temperature for about 30 minutes. Then, pour it into the ramekins and bake as usual.
How do I know when to take the lava cake out of the oven?
Bake the lava cake for 12 to 14 minutes. Look for firm edges and a slightly jiggly center. If the center is too firm, it will not be molten. Trust your instincts; a little jiggle is perfect.
Is there a gluten-free version of Chocolate Hazelnut Lava Cake?
Yes, you can make a gluten-free version. Replace all-purpose flour with almond flour. This change keeps the rich flavor and gives a nice texture. Just be sure to adjust the baking time slightly, as it may vary.
Can I use milk chocolate instead of dark chocolate?
You can use milk chocolate, but the cake will taste sweeter and less rich. Dark chocolate adds depth and a slight bitterness that balances the sweetness. If you prefer milk chocolate, consider adding a touch of espresso for extra flavor.
This blog post gave you a clear path to making chocolate hazelnut lava cake. We covered the ingredients, step-by-step instructions, tips for perfection, and variations to try. Remember, the key is in using quality ingredients and keeping an eye on baking times.
Whether you enjoy baking for yourself or impressing others, these tips will help. Make this treat your own with exciting flavors and serving ideas. Enjoy your baking journe