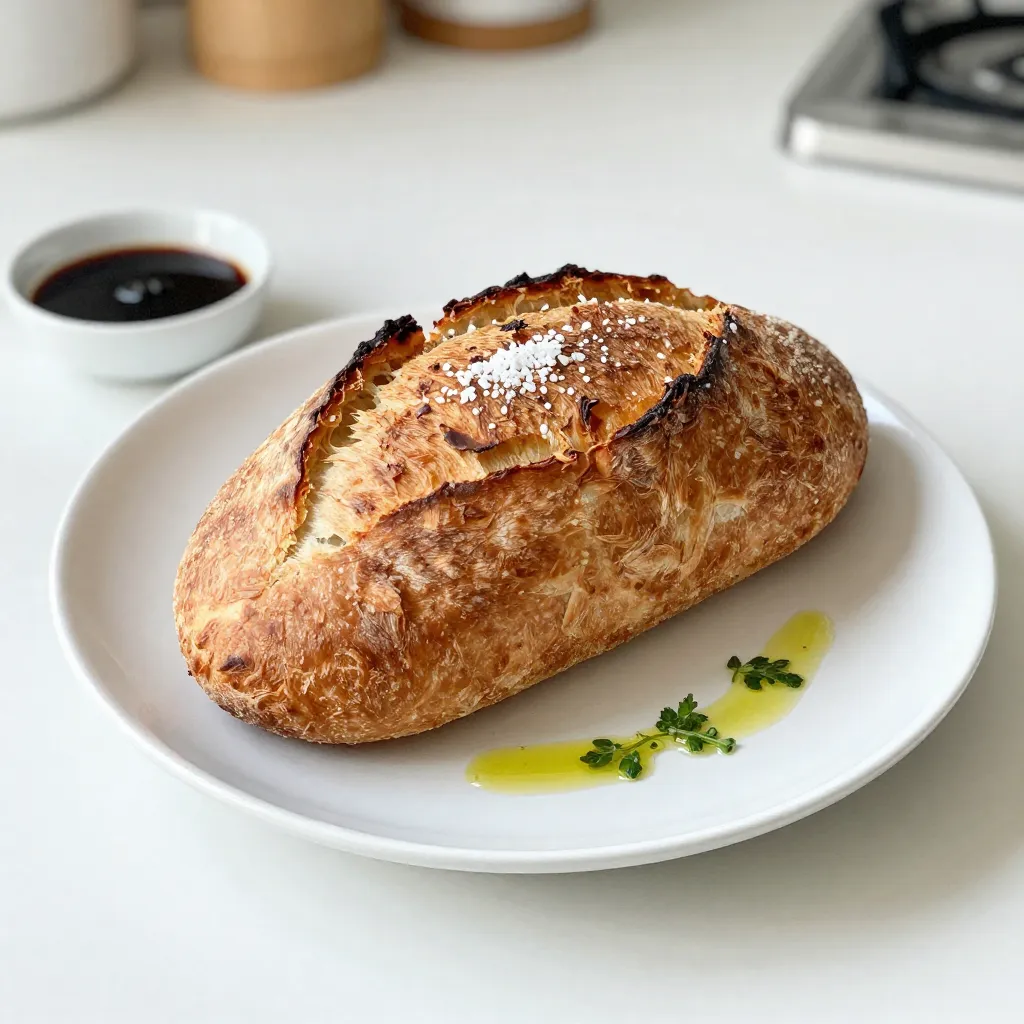
Are you ready to bake an amazing loaf without all the fuss? No-knead skillet bread is your answer! This simple recipe gives you a tasty, golden crust with soft, fluffy insides—all with minimal effort. You’ll need just a few basic ingredients and a bit of patience. Let’s dive into the easy steps that will make you a bread-baking star! Get your skillet ready, and let’s get started!
Why I Love This Recipe
- Effortless Preparation: This no-knead recipe requires minimal effort, allowing you to enjoy homemade bread without the hassle of traditional kneading.
- Long Rise Time: The extended fermentation enhances the flavor and texture, resulting in a bread that is both crusty on the outside and soft on the inside.
- Versatile Ingredients: Customizable with herbs like rosemary or other add-ins, this recipe can be tailored to suit any meal or occasion.
- Impressive Results: With a beautifully golden crust and a delightful aroma, this bread is sure to impress your family and friends.
Ingredients
Main Ingredients
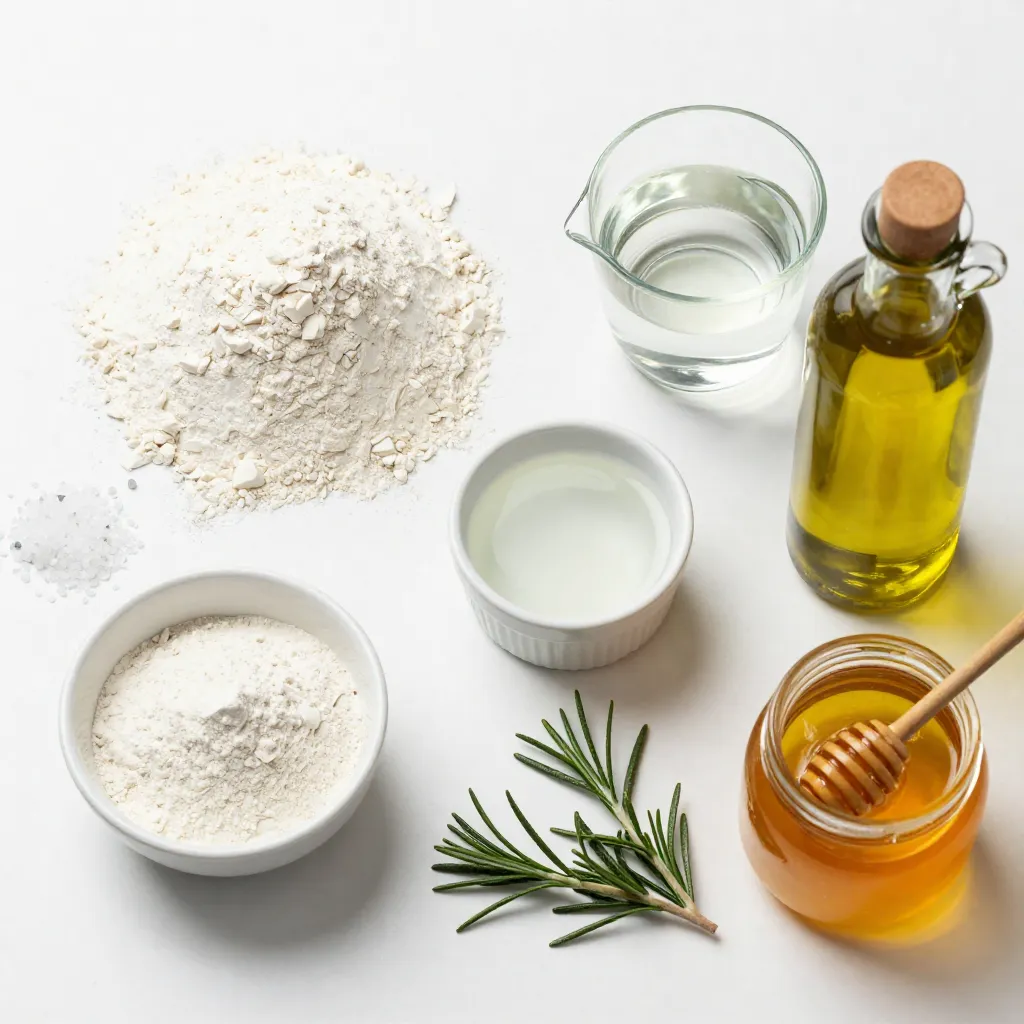
– 3 cups all-purpose flour
– 1 ¼ teaspoons salt
– ½ teaspoon instant yeast
– 1 ½ cups warm water (approximately 110°F)
Additional Ingredients
– 2 tablespoons olive oil
– 1 tablespoon honey
– 1 tablespoon fresh rosemary (optional)
– Sea salt for sprinkling
When making no-knead skillet bread, the right ingredients are key. You need simple items that blend well. The main base is flour, which gives the bread its structure. Salt adds flavor and helps with the rise. Instant yeast is easy to use. It activates quickly, making your dough rise faster. Warm water helps to dissolve the yeast and also combines the dry ingredients.
For the extra touch, olive oil adds richness and moisture. Honey gives a hint of sweetness and helps create a nice crust. If you want a fresh taste, add rosemary. It’s optional but worth it! Finally, a sprinkle of sea salt on top enhances the flavor, making every bite delightful.
With these ingredients, you can create a delicious, warm bread that pairs well with many dishes.
Step-by-Step Instructions
Mixing the Dough
In a large bowl, mix your dry ingredients. Add 3 cups of all-purpose flour, 1 ¼ teaspoons of salt, and ½ teaspoon of instant yeast. Whisk these together until well combined. Make sure there are no lumps.
In a smaller bowl, prepare the wet mixture. Combine 1 ½ cups of warm water (about 110°F), 2 tablespoons of olive oil, and 1 tablespoon of honey. Stir gently until the honey dissolves completely. This mix will help the dough rise well.
Rising and Baking Process
Now, pour the wet mixture into the dry ingredients. Stir with a wooden spoon until a sticky dough forms. If you want, fold in 1 tablespoon of finely chopped fresh rosemary for extra flavor.
Cover the bowl with plastic wrap or a clean towel. Let the dough rise at room temperature for 12 to 18 hours. It should become bubbly and double in size.
After that time, preheat your oven to 450°F (232°C) with a large cast-iron skillet inside. This will help create a nice crust.
Final Preparation and Baking
Once the dough has risen, lightly flour a clean surface. Carefully turn the dough out onto this surface. Shape it into a rough ball without losing too much air.
Using oven mitts, take the hot skillet out of the oven. Grease the bottom lightly with olive oil to prevent sticking. Place the shaped dough into the skillet.
Cover the skillet with a towel and let the dough rest for another 30 minutes. This second rise makes the bread fluffier.
Before baking, sprinkle a little sea salt over the top. This adds flavor and creates a tasty crust.
Place the skillet back in the oven. Bake for 30-35 minutes, or until the bread is golden brown. It should sound hollow when tapped on the bottom.
After baking, transfer the bread to a wire rack to cool before slicing. Enjoy your warm, homemade no-knead skillet bread!
Tips & Tricks
Perfecting the No-Knead Technique
Measuring your ingredients is key. Use a kitchen scale for the best results. This helps you get the right flour, water, and salt amounts. Too much or too little can change your bread.
Allow the dough to rise properly. You need to give it enough time to expand. A long rise, from 12 to 18 hours, is best. This helps develop flavor and texture. When the dough is bubbly, it’s ready for the next step.
Enhancing Flavor and Texture
You can make your bread even better with extra flavors. Adding fresh rosemary is a great choice. It gives your bread a fragrant and earthy taste. Just chop it finely and fold it into the dough.
Don’t forget to sprinkle sea salt on top before baking. This adds a nice crunch to the crust. The salt also enhances the bread’s flavor. It makes each bite taste even more amazing.
Try these tips to make your no-knead skillet bread shine. Enjoy the process and have fun with your baking!
Pro Tips
- Use Fresh Ingredients: For the best flavor, make sure to use fresh yeast and high-quality olive oil. Fresh ingredients can significantly enhance the taste of your bread.
- Control the Temperature: Ensure your warm water is around 110°F for optimal yeast activation. Too hot can kill the yeast, while too cold can slow down the fermentation process.
- Experiment with Herbs: Feel free to customize your bread by adding different herbs or spices to the dough. Garlic, thyme, or oregano can offer delightful variations.
- Let it Rest: After baking, allow the bread to cool completely before slicing. This resting period helps improve the texture and flavor, making each slice more enjoyable.
Variations
Flavor Additions
You can easily change this bread to suit your taste. Adding garlic gives a rich flavor. You can mix in minced garlic into the wet ingredients. This will make the bread taste savory and fragrant.
Herbs are another great option. Fresh rosemary adds a lovely touch. Simply chop it finely and fold it into the dough. You can also try thyme or basil for different tastes.
Cheese is a fantastic addition too. Feta or cheddar can make your bread richer. Just sprinkle small pieces into the dough when mixing. The melted cheese will create a gooey, tasty surprise in every bite.
Alternative Cooking Methods
While a cast-iron skillet is great, you can use other skillets too. Non-stick skillets work well, but make sure they are oven-safe. They will still give you a nice crust.
A Dutch oven is also a smart choice. Preheat it just like the skillet. This method keeps the heat steady and creates steam. Your bread will turn out fluffy and soft inside. Plus, the crust will be even crispier.
Storage Info
Best Practices for Storing Bread
To keep your no-knead skillet bread fresh, store it properly. Here’s how:
– Room Temperature: Place the bread in a paper bag. This lets it breathe and keeps the crust crisp. Avoid plastic bags as they trap moisture and make the bread soggy. If you need to, wrap the bread in a clean kitchen towel.
– Freezing Options: For longer storage, freeze your bread. First, let it cool completely. Then, wrap it tightly in plastic wrap and then in aluminum foil. This keeps out air and prevents freezer burn. You can freeze slices or the whole loaf.
Reheating Tips
When you’re ready to enjoy your bread again, reheating is key to keeping its great taste and texture. Here are some methods:
– Oven Method: Preheat your oven to 350°F (175°C). Wrap the bread in aluminum foil to keep it moist. Heat for about 10-15 minutes. This method helps restore the crust.
– Skillet Method: If you want a crispy crust, heat a skillet over medium heat. Slice the bread and toast it in the dry skillet for a few minutes on each side. This adds a nice crunch.
– Microwave Method: For quick reheating, place a slice on a plate and cover it with a damp paper towel. Heat it for about 10-15 seconds. Be careful not to overheat, as it can make the bread tough.
Using these tips, you can enjoy your no-knead skillet bread long after you’ve baked it.
FAQs
How do I know when the dough has risen enough?
You will notice a few signs when the dough has risen enough. The dough should double in size. It will look puffy and bubbly on the surface. You can gently poke it with your finger. If the dough springs back slowly, it is ready. If it stays indented, let it rise a bit longer.
Can I use whole wheat flour instead of all-purpose flour?
Yes, you can use whole wheat flour. It will change the taste and texture. Whole wheat makes the bread denser. This flour has more fiber and nutrients, which is great for health. You might need to add a bit more water, as whole wheat absorbs more moisture. Try mixing half whole wheat and half all-purpose for a balanced result.
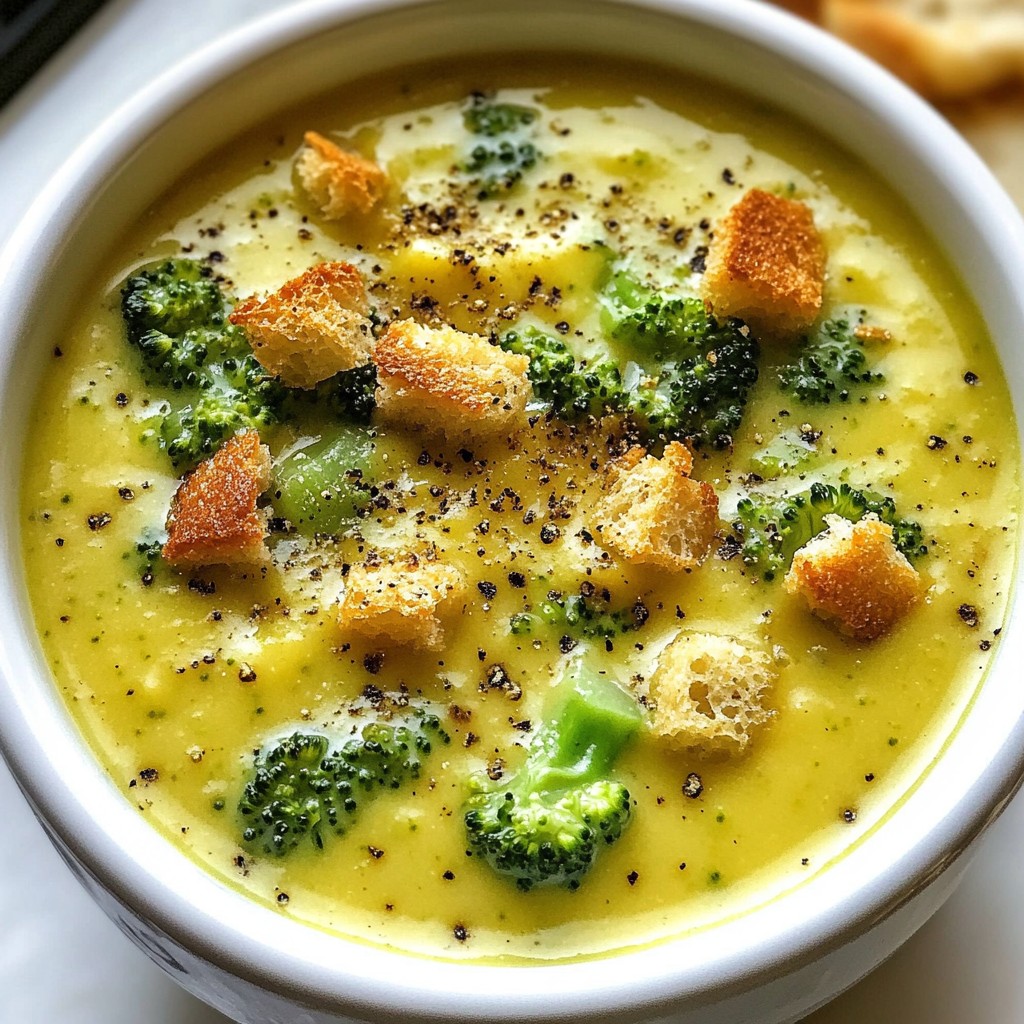
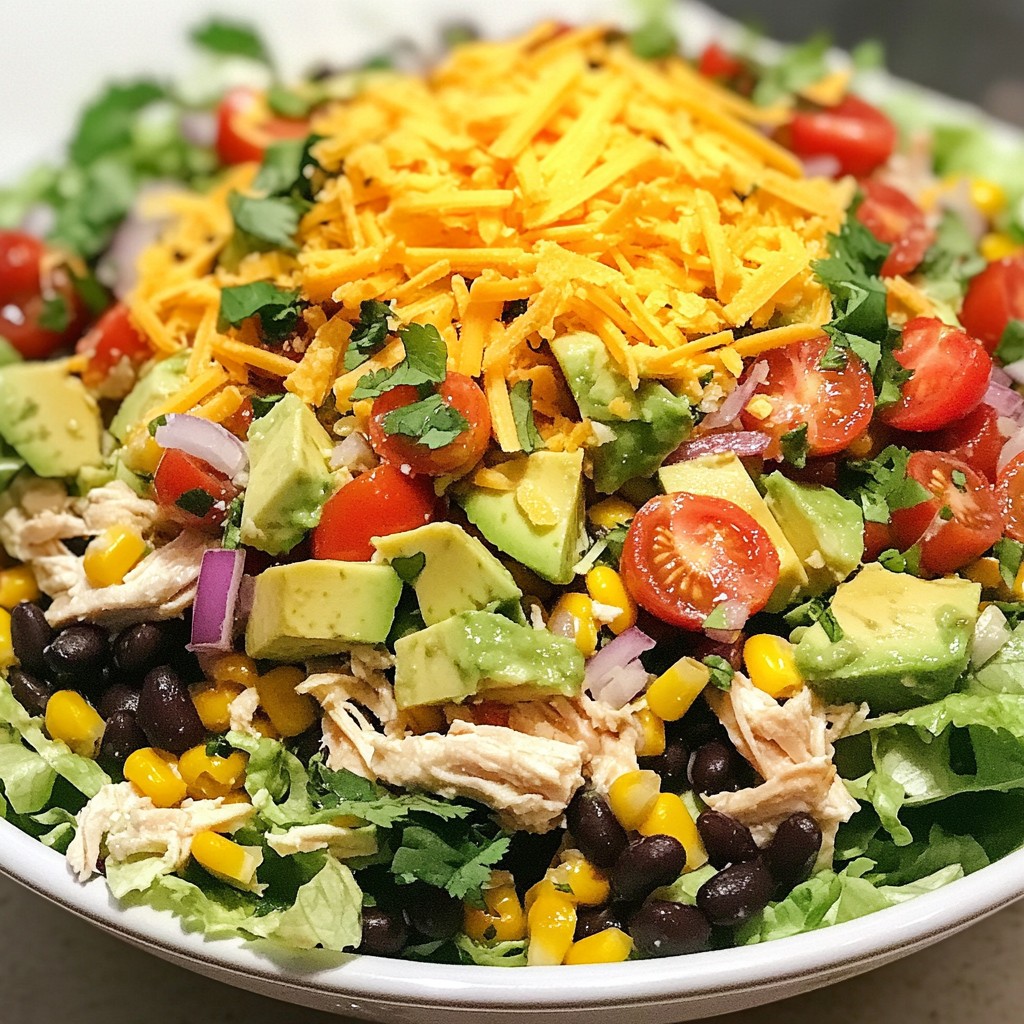
What can I serve with No-Knead Skillet Bread?
This bread pairs well with many foods. You can serve it with olive oil for dipping. A dish of balsamic vinegar adds a tasty twist. It also goes great with soups and stews. Try it with a fresh salad or as a side for pasta. The options are endless!
This blog post covered making no-knead skillet bread. We explored key ingredients and simple steps. I shared tips to enhance flavor and suggested fun variations. You learned how to store and reheat your bread properly.
In my experience, this recipe makes baking easy and rewarding. Enjoy sharing your homemade bread with family and friends. Your no-knead skillet bread journey starts now—let’s bake with confidenc